Sales Tracking helps small business owners track their sales, expenses, customers, products and services, leads and sale sources in a single place. We'd like to explain the basics and walk you through the main features. Let's get started!
First, let's define what the various entities are in the order you'll need to create them.
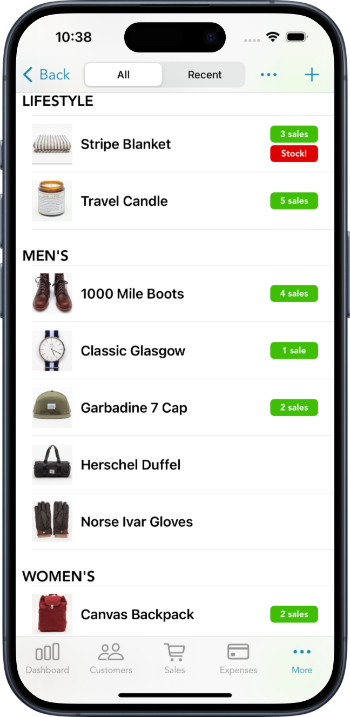
Anything you sell. This could be widgets, cars, houses, insurance policies, paintings, billable time, haircuts, golf lessons, or whatever it is that you wish to track the sales of. You can enter as many items as you like, as shown in the screenshot below.
Every item must belong to a category. This is to better organize your products and get more useful reports. Before creating an item, you'll need to create at least one category.
For example, a clothing boutique might have categories like Menswear, Womenswear, Kids and Jewelry. If you're a golf instructor, a category name might be "Golf Lessons", and the items under it would be "60-minute lesson", "90-minute lesson", "3-hour lesson" etc.
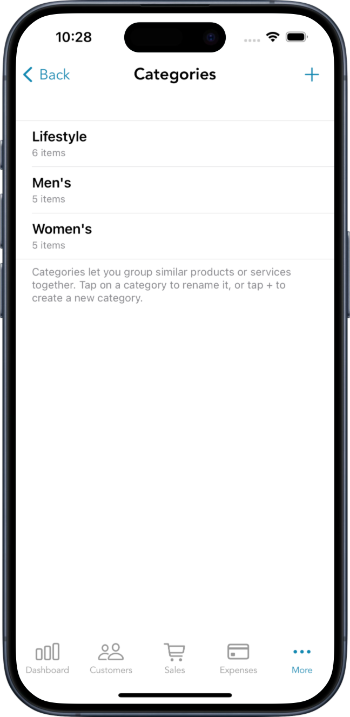
We recommend you start by creating a single category and several items. To do so, select Products & Services under the More tab on iPhone, or from the left navigation menu on iPad. Then tap the + button to enter your items.
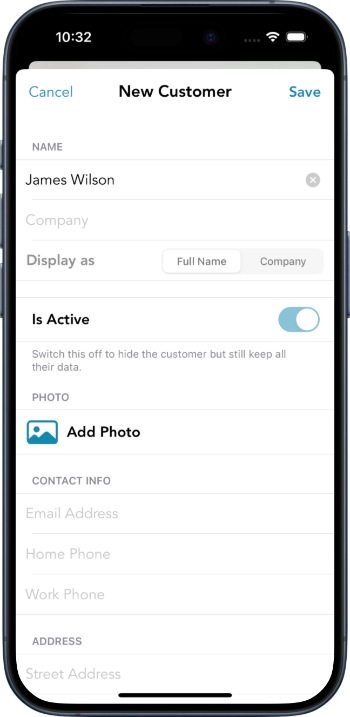
Anyone you sell things to. Sales Tracking allows you to create an address book of all your customers, including their name, company, photo, email, phone numbers, address etc. You can enter new customers at any time, either just by themselves or when you're creating new sales.
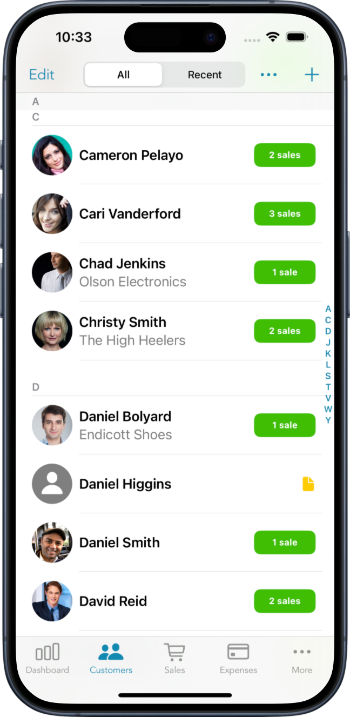
To create customers, switch to the Customers tab and tap the + button. You can also import contacts from your iPhone or iPad's Contacts app.
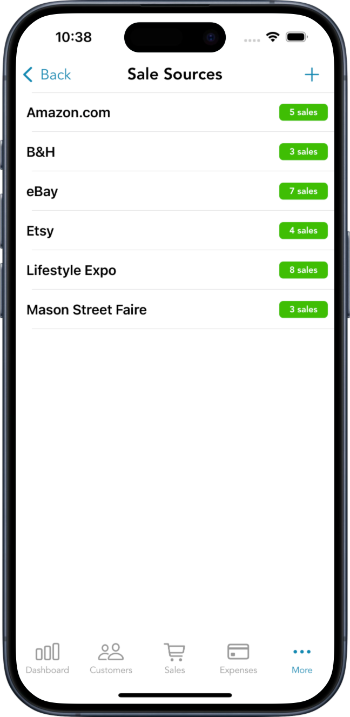
Sale sources can be used to track where your sales are coming from. These could be referral sources (e.g. Online Ads, Yellow Pages, Mailing Lists etc), the names of your sales people, the locations of your branches, or your various ad campaigns. Although optional, we highly recommend you enter one or more sale sources to identify growth channels for your business.
A sale is what ties everything together, and captures who bought what, where, when and for how much. Think of it as an invoice or receipt that tracks everything about what you sold.
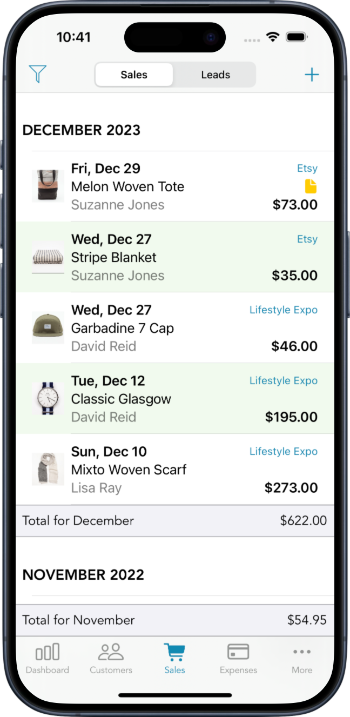
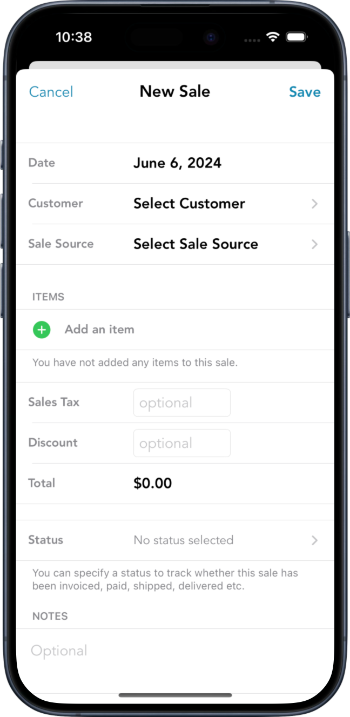
To create a new sale, switch to the Sales tab on iPhone or select Sales & Leads on iPad. Then tap the + button. Start by entering a date when the sale was made. Then select the customer and sale source. You'll be able to create a brand new customer or sale source if necessary.
You'll then want to enter what was sold. To do so, tap on Add an Item. Select an Item from your list of items, or create a brand new item. Once you've selected an item you can enter the price and quantity sold. If necessary, you can add additional items that were part of the same sale. As you enter items and edit the prices and quantities, you'll notice that the total amount updates automatically. You're welcome to adjust the total amount, and add additional notes if necessary.
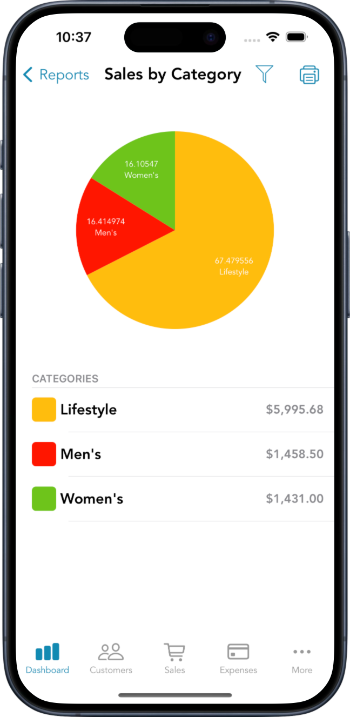
After you've entered a few sales, switch to the Dashboard. This is where you'll see several reports giving you insights into your sales, customers, products, and more. Switch between reports by pressing the More Reports button at the top of the Dashboard. To filter a report by date, tap the Filter button in the top left-hand corner. Any Dashboard report can be exported out of the app by tapping the PDF button in the top right-hand corner. The Dashboard updates automatically, and the various reports never need to be manually refreshed.
There are plenty of other features including Expenses, Leads, Product Attributes and Sale Statuses. Once you've entered a few sales and played around with the Dashboard, the other features will become more obvious and useful. Here are a few additional guides:
Sales Tracking stores your data in the cloud and automatically syncs it between your iPhone, iPad and our backend database. To enable data syncing, you'll need to create an account.
Although Sales Tracking offers a free tier, you'll need a premium subscription to fully utilize most of its features. The latest pricing is available on the home page and under My Account in the iOS app.